Saturday, April 23, 2011

Hacking together a seat support

Andrew Carson has a nice design for a seat support, but it requires more welding and piecing together and I thought I'd try to make one out of actual bike pieces I have lying around. I think it's promising.

It starts with a crappy Huffy frame like this (I had two of 'em salvaged from the ditch and a junk pile):

From Recumbent Bike Project


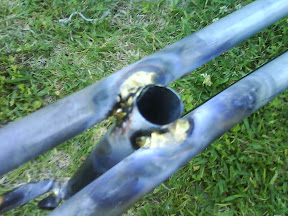
I cut off the seat stays and a bit of the seat tube, plus the dropouts. That's a seat post stuck through the 2" of seat tube there.
From Recumbent Bike Project


Next I cut off the bottom part of the dropouts. I just need the parts with the little round holes.

From Recumbent Bike Project


Then I spread the seat stays a bit so it'll fit around the recumbent frame, flip it upside down, and install with two little bottle-holder bolts into the holes of the recumbent seat stays. I also put a seat clamp on there.

From Recumbent Bike Project


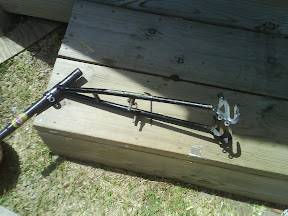
I need something to attach it to and I remembered this old part from a broken comfy seat from my cruiser bike.

From Recumbent Bike Project


I move the seat clamp onto the rails of this thing...

From Recumbent Bike Project


Remove the springs...

From Recumbent Bike Project


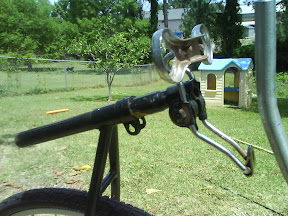
Slide the seat clamp onto the seat post like so...
From Recumbent Bike Project


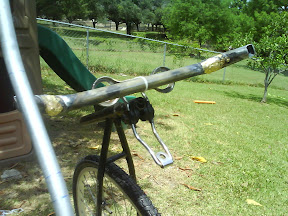
and zip-tie one of the seat frame supports to the thing to show how it could attach. In the finished support I will braze on half of a split tube and use hose clamps to secure it to the seat support the same way Andrew Carson does at the top of his seat stay design.
From Recumbent Bike Project


From Recumbent Bike Project


I'll let you know how it works out after I get into the metal shop again for more welding. :D

Frame Welding Done

The basic frame is all done now. Andy taught me how to do the welding, and I actually did the last several joints myself! Yea! It's so empowering to learn this. Here are my joints on the bottom rails and the new brake bridge on the fork.

From Recumbent Bike Project


From Recumbent Bike Project


I decided to add a bit of downward curve to the bottom rails where they join the bottom bracket. I like the graceful curve. :)

From Recumbent Bike Project


And here's how it looks with the wheels set in for show:

From Recumbent Bike Project


Next I have to weld the seat frame together and put the cover on it. I got the fabric already and it should be very nice. Next post is about my possibly clever seat support...

Tuesday, April 12, 2011

Welding of first joints, bending seat frame

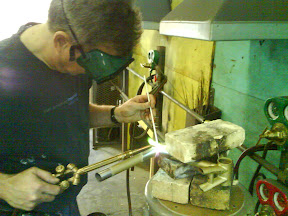
Last Saturday I had professional help from Andy Loewy (Industrial Design professor), who welded the joints for 1st and 2nd assemblies for me.

From Recumbent Bike Project


I came up with a way to jig the 2 assemblies together with some metal stock in the shop. This held it together nice and straight.

From Recumbent Bike Project


We also bent the rear triangle's seat stays over a big pipe.

From Recumbent Bike Project


From Recumbent Bike Project


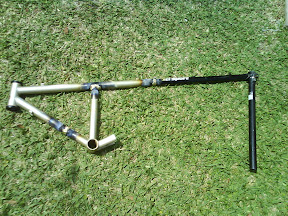
Here's what the first two assemblies look like all welded together

From Recumbent Bike Project


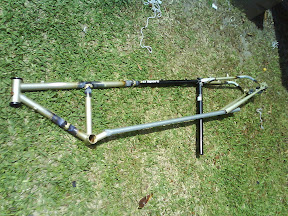
After that I kinda stuck the pieces together to see what it would look like in the end. Looking pretty good...

From Recumbent Bike Project


I tried a 27" wheel in the bent triangle and found it'll work great. Brake pads strike the rim perfectly. I'm really glad about this b/c it would be a pain to put new brake bosses on.

From Recumbent Bike Project


Then today I bent the side pieces for the seat frame. They turned out pretty well I think. Hope it's a comfy seat.

From Recumbent Bike Project


Next we'll weld the rear triangle on there, then the bottom rails. After that it's the seat and seat stays. Fun!

Sunday, March 27, 2011

Improvised rear triangle jig

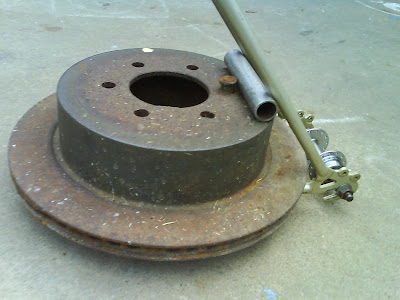
To bend the rear seat stays it helps to have a jig. I think I've put one together that'll work fine without having to weld it. It makes use of a big heavy brake drum that's been rusting in my yard for a few years. I expect to try it out tomorrow so I'll let you know how it goes. Here are pics of the jig. You have to heat the seat stays and bend them over that little pipe.

From Recumbent Bike Project


From Recumbent Bike Project

Monday, March 7, 2011

Third donor bike gives me a front wheel

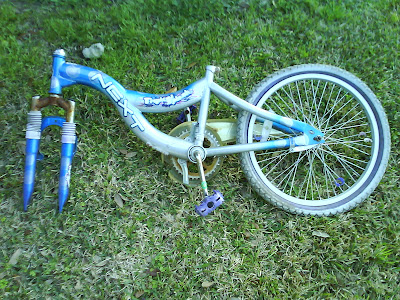
I bought a cheap kids 20" bmx-style bike today for $11.99 at Goodwill, mainly to get the front wheel, which will be the front wheel for my recumbent.

From Recumbent Bike Project


Not great quality, but probably good enough. It has aluminum rims at least. The wheel needs some attention to get the tension evened out, and it'll need a narrower tire. I also salvaged some reflectors and a stem and other little stuff from the bike.

So here's the wheelset for the recumbent as it stands now, although according to Andrew Carson, the guy who made instructions for the recumbents, 26" wheels work better than 27" in rear. This one's a 700c wheel.

From Recumbent Bike Project

Sunday, March 6, 2011

Holding pattern

I've done about as much as I can do before getting into the metal shop for welding. I even got a scrap hub from a neighbor's junky bike so I can make a jig for bending the rear triangle down.

I think while I'm waiting to weld, I'll take one of the Nishiki's wheels and use it to learn how to build a wheel. Take it completely apart and re-assemble, just for fun. I can also get rid of all the rust and shine it up while I'm at it.

Tuesday, March 1, 2011

Getting ready to weld first joints

I made some good progress tonight. I cut the seat tube of the Raleigh piece and made a fish-mouth joint to be welded to the top tube. This is a major pain using only a hacksaw and files, but I think it turned out pretty well.

From Recumbent Bike Project


I ended up having to cut off about 2mm from the downtube to make this fishmouth joint fit up tight with the top tube. Must have cut too much off of seat tube. Whoops!

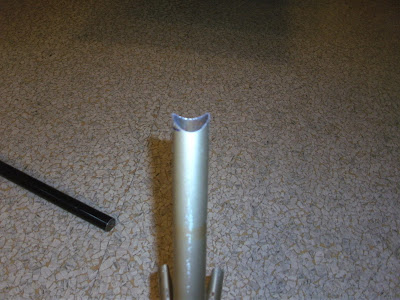
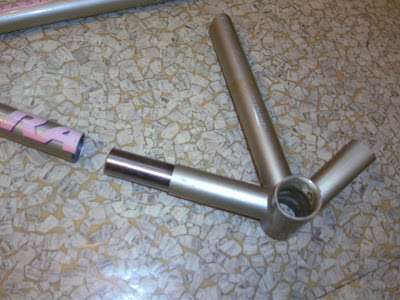
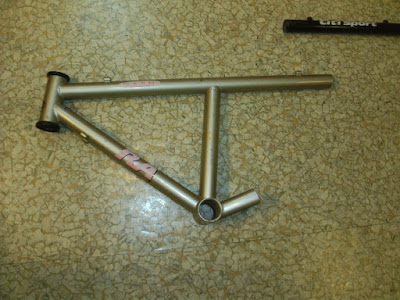
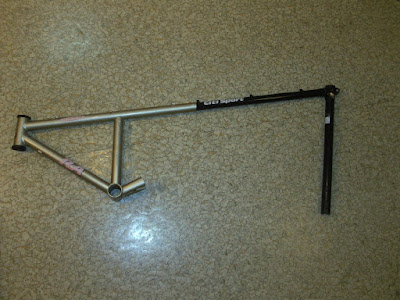
In this series of pics you can see the pieces for the first two assemblies. Gold pieces are from the Raleigh bike, black piece is from the Nishiki, and the shiny silver piece is the famous sleeve I made last night from the Murray junker in my neighbor's trash pile.

From Recumbent Bike Project


From Recumbent Bike Project


From Recumbent Bike Project


From Recumbent Bike Project


From Recumbent Bike Project


From Recumbent Bike Project


Everything fits great, I think the bike is coming along well. Tomorrow I'll take off the paint, then I have to find a time to get into the metal shop to do the welding. I'm stoked!